Pumpkin Portraits - Page 4

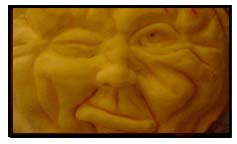
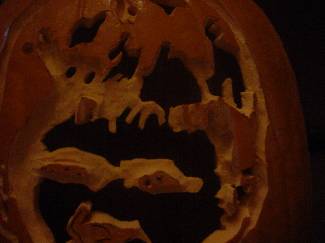
Difference between shaving a Fun-Kins pumpkin and a real pumpkin 

When carving Fun-Kins you will need to use a Dremel.  However, when carving real pumpkins you need to use loop tools to carve down about 50% into the pumpkin. 

Tip:  Make sure you take your time when shaving out this area of the pumpkin.  Move too fast and a piece can break off and if you don’t shave the design right the pumpkin could end up not looking right.


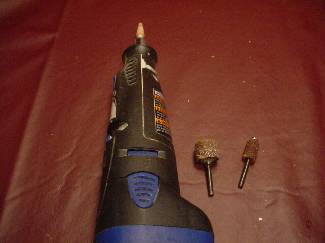
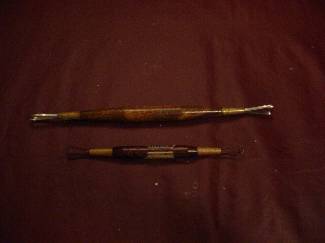
Most of the carving is done with the narrow tip that is on the Dremel and I only use the larger tips when I have to shave large areas


You should be able to find a Dremel at your local hardware store or go to www.cool-pumpkins.geraldgore.com/tools.htm for a vendor that I recommend.

Loop tools 

Here is a close up of my loop tools that I use. 

Go to www.cool-pumpkins.geralgore.com/tools.htm for a list of vendors that carry the pottery tools that I use. 

Almost done 

Our design is now starting to take shape.  The shaved areas will create a darker orange color when the pumpkin is lit up. 

The pumpkin looks like a real mess with the lights on.  The baby will really shine when you put an artificial light in it and turn off the surrounding lights.

All lit up 

And here is what our final product looks like when you add a light to it. 

I’m glad I used an artificial pumpkin for this carving.  This is something I will be able to keep for years down the road.

Page 1, 2, 3

Pumpkin Carving Resources


Menu

 Pumpkins (home)

 Pumpkin Carving Tips

 Pumpkin Templates

 Pumpkin Portraits

 Pumpkin Sculpting

 My Pumpkins

 Pumpkin Carving Tools

 Pumpkin FAQ

 Costumes and More

Pumpkins


Cool Pumpkins (Home) | SiteMap |Affiliate Program | Privacy  | Blog | Links
 Contact Us

Copyright © 2006
Gerald Gore Studios All rights reserved.
All product and brand names mentioned on this web site are trademarks of their respective owners.