|
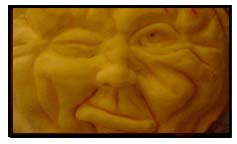
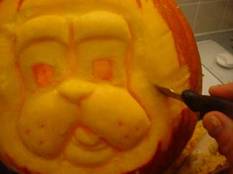
How about some
whiskers
Adding even more detail to
my sculpture I will cut out little slits in the cheeks for
where the whiskers would go. |
 |
|
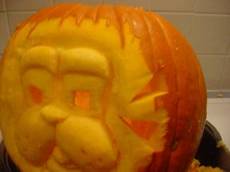
Tongue and cheek
I also dont want to
forget about the tongue. I cut a slit down the center of
the tongue so that it doesnt look like a bottom lip.
I then go back and cutout
a horizontal slit under the tongue to outline where the bottom
lip will be. |
 |
|
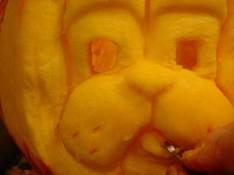
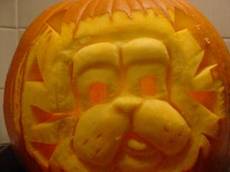
Crazy hair
I have rounded out the
face pretty well now and I am ready to move onto the hair.
I cutout random triangles
on the outside areas of my face.
Tip: Have the
point of the triangle point towards the face leaving the wider
edge towards the outside of the pumpkin.
|
 |
|
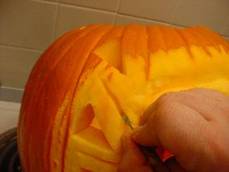
This image shows a couple
of the triangles that I have cutout.
We will need to cutout
triangles on both sides of the pumpkin
Tip: If a
knife is too big for you to cutout your triangles you can
easily cut them out with a carving saw. |
 |
| OK, I have
cutout all the triangles that I need on my pumpkin.
The next step is to give them some details. |
 |
|
Adding detail to the
hair
I now go back and carve a
slit in-between each of my triangles. Basically I am
separating the area between the triangles into two pieces. |
 |